Accessing the R Environment
RStudio Cloud
There is no specific requirement to download RStudio Desktop onto your local machine.
For the purposes of this workshop, we will be accessing RStudio on its cloud platform. To this end, “if you make limited, occasional use of RStudio Cloud, or have your usage covered by your school/organization or an instructor, our free plan is all you need” (RStudio Cloud, 2022).
The free version of this platform allows:
- Up to 50 projects total
- 1 shared space (5 members and 10 projects max)
- 25 project hours per month
- Up to 1 GB RAM per project
- Up to 1 CPU per project
- Up to 1 hour background execution time
https://rstudio.cloud/plans/free
RStudio Cloud can be accessed with your personal or organization’s email address or GitHub user account.
First-time Registration
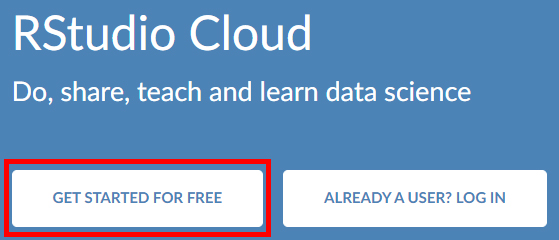
- Navigate your browser (preferably Google Chrome) to https://rstudio.cloud/.
- Click on
Get Started for Free.
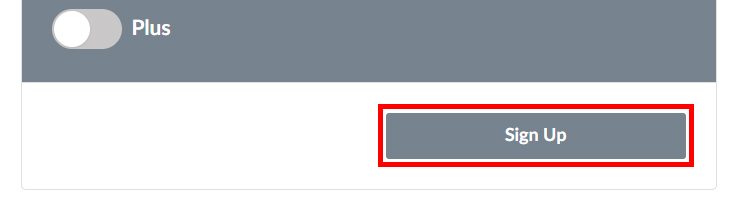
- Click the
Sign Upbutton at the bottom of the page. Make sure that thePlusslider button remains toggled off.
- Follow the prompts to sign up manually, sign up with Google, or to sign up with GitHub.
- Once you have registered, you may login with your chosen registration method.

Creating a New Project
To access the RStudio cloud-based IDE, you will first need to set up a new project. When you login for the first time, you will notice that there are no projects in your workspace.
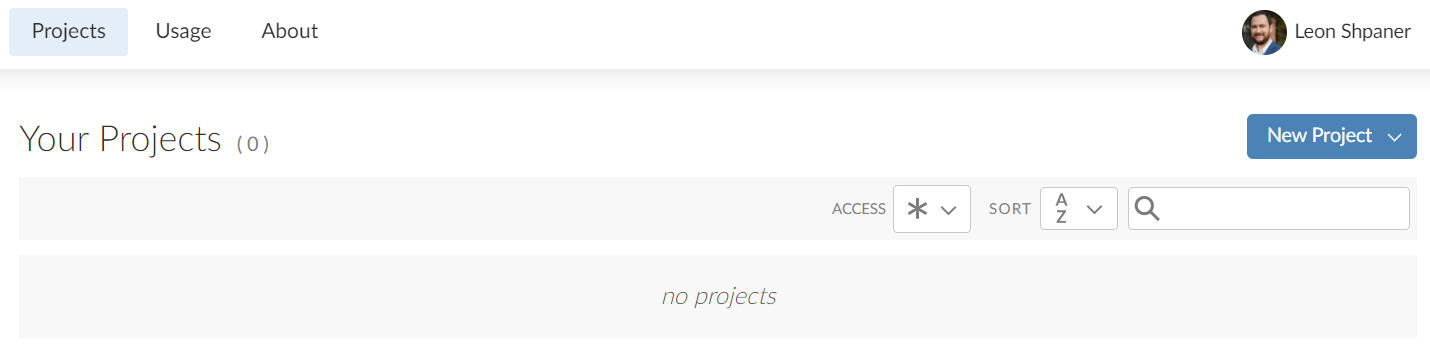
So, let’s follow the following set of procedures.
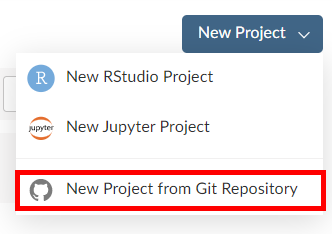
- Click on
New Projectat the top of the screen and selectNew Project from Git Repository.
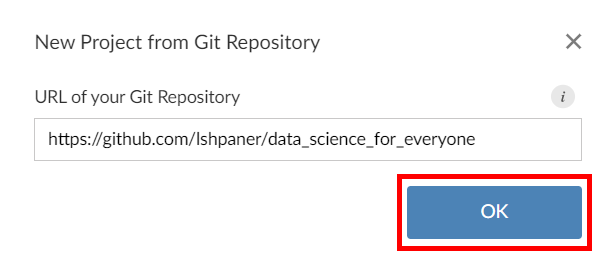
- You will then be asked to specify the URL of the Git Repository. Enter the following URL and click
OK. https://github.com/lshpaner/data_science_for_everyone
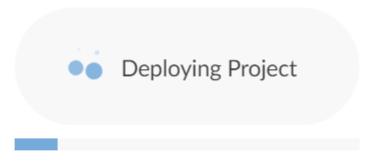
- Wait a few moments for the project to deploy.
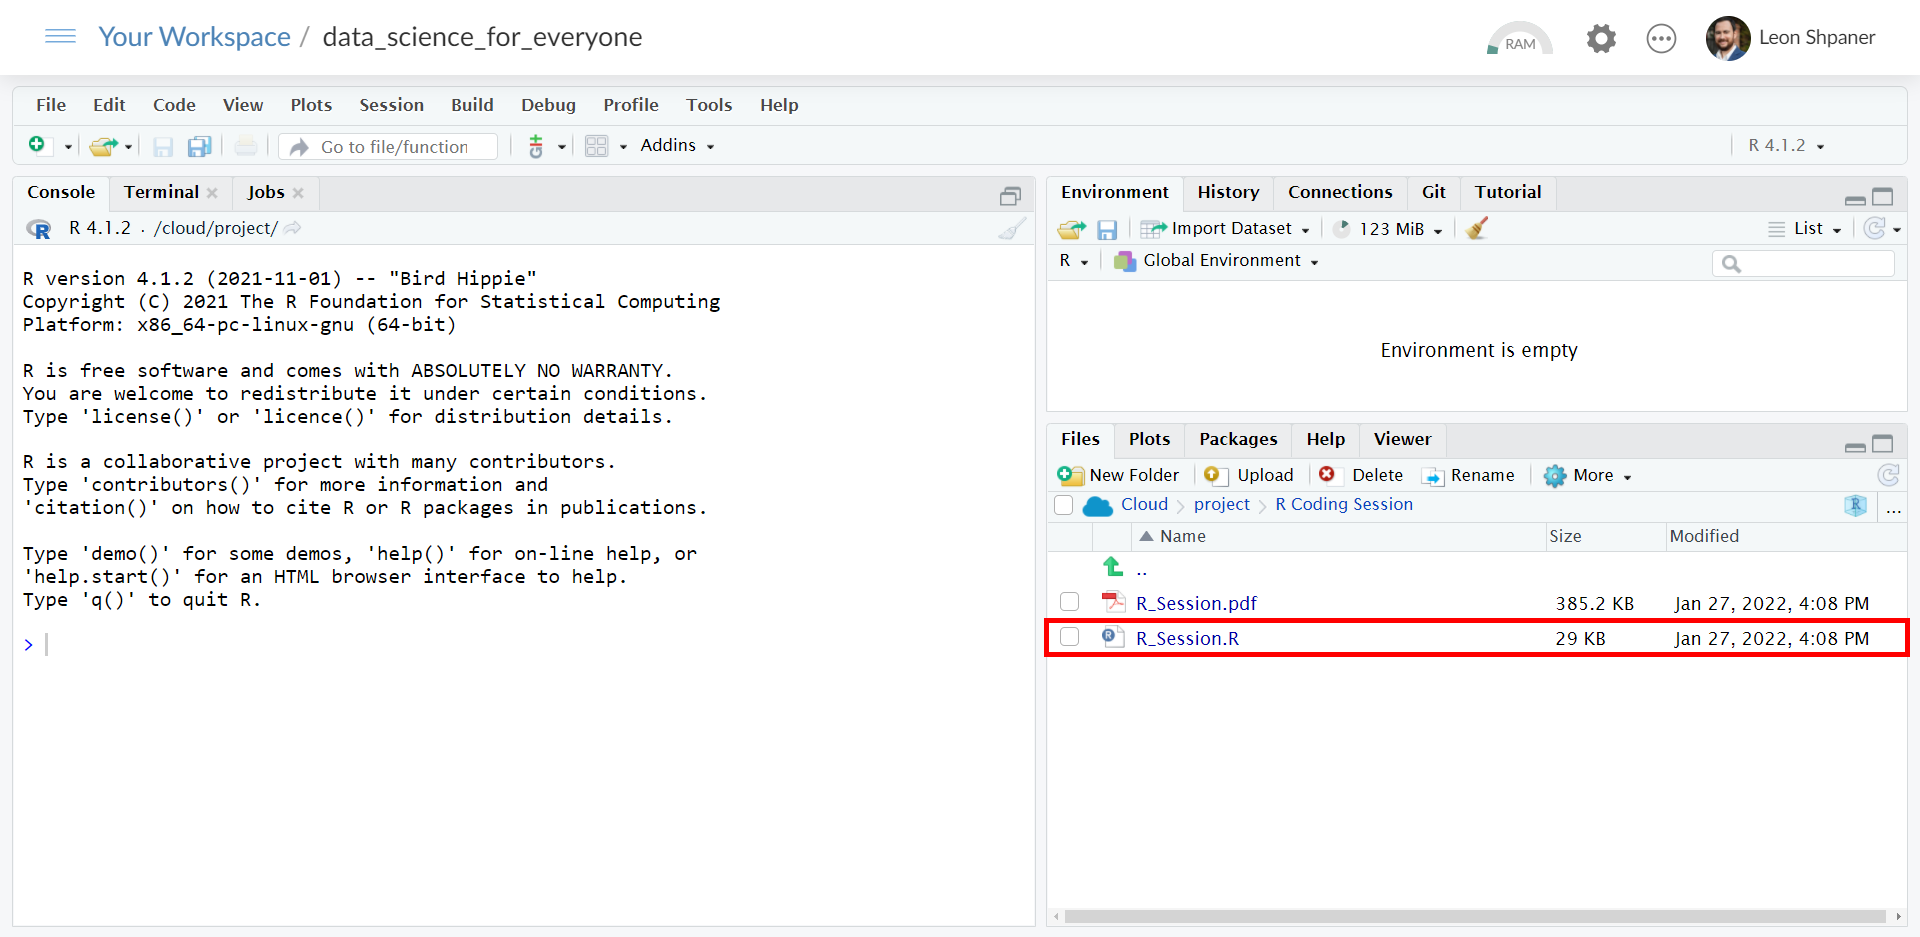
- This will take you to Your Workspace/projects screen. Your screen should look like the following:
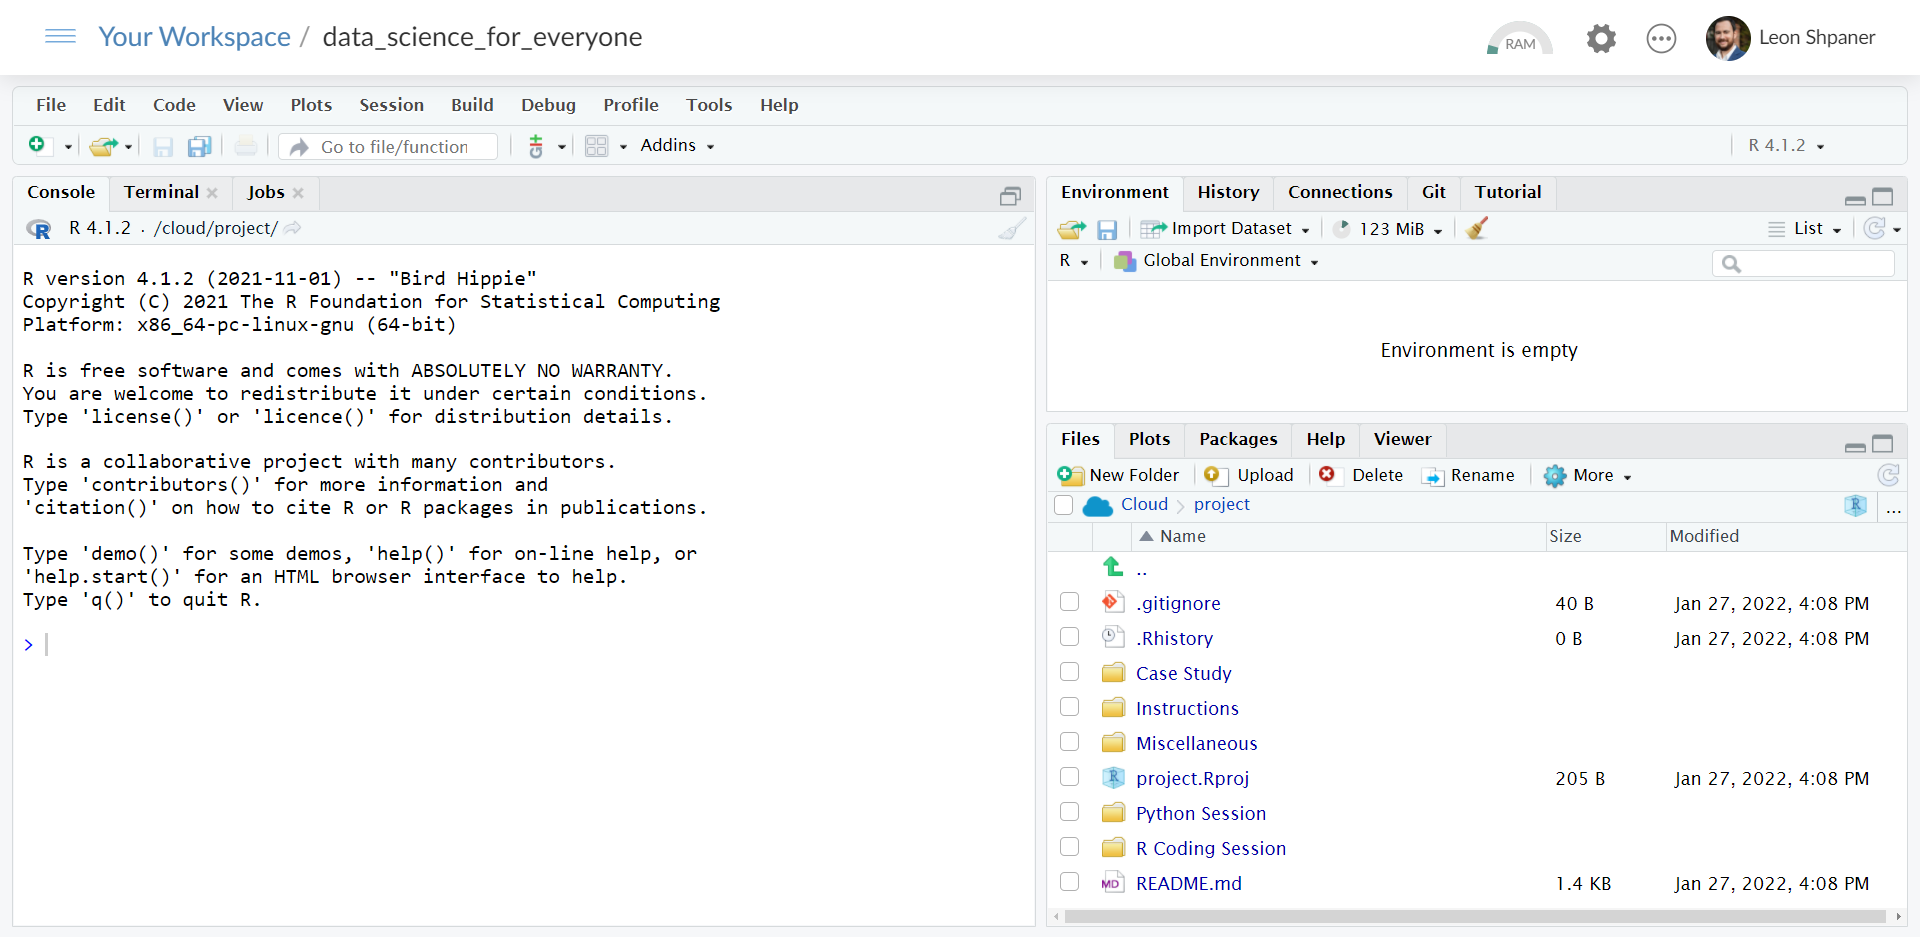
- On the very right-hand quadrant of the screen, notice the list of files, and proceed to select and open the folder called
R Coding Session,clicking onR_Session.Ronce inside the file directory.
- This will open up your workspace into four quadrants, with the
R_Session.Rscript on the second quadrant.
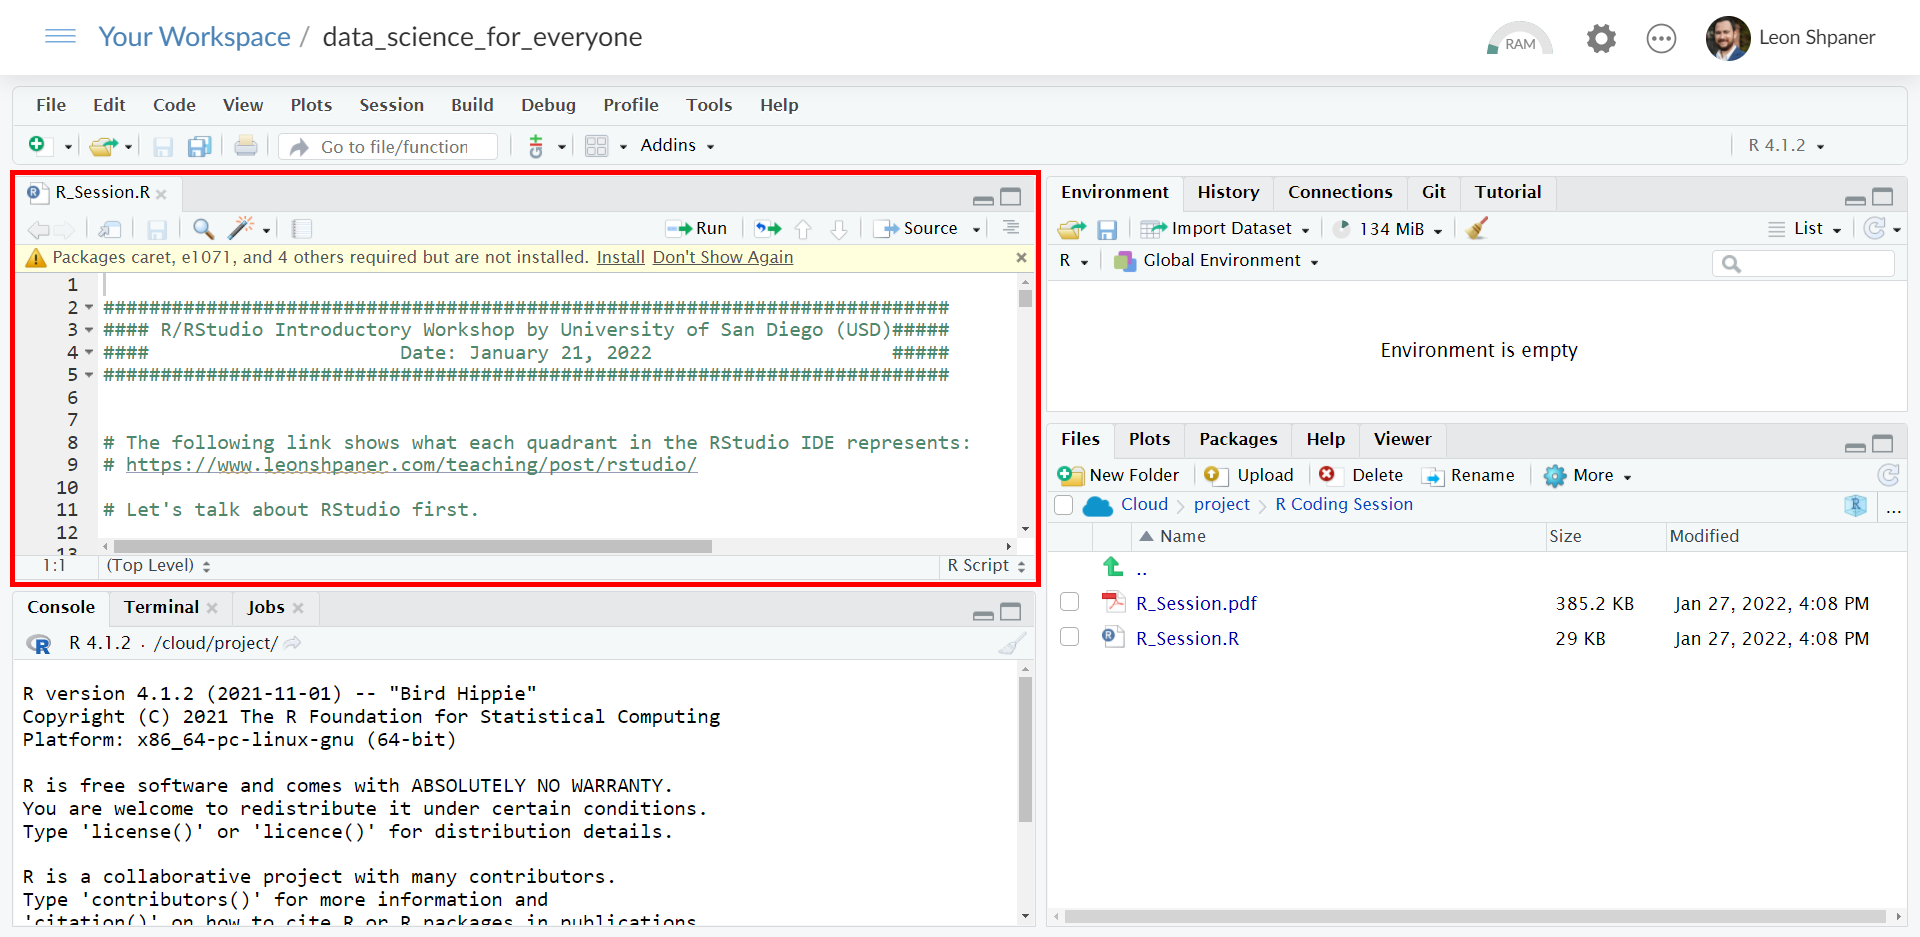
- The following warning message will appear on top of the screen:
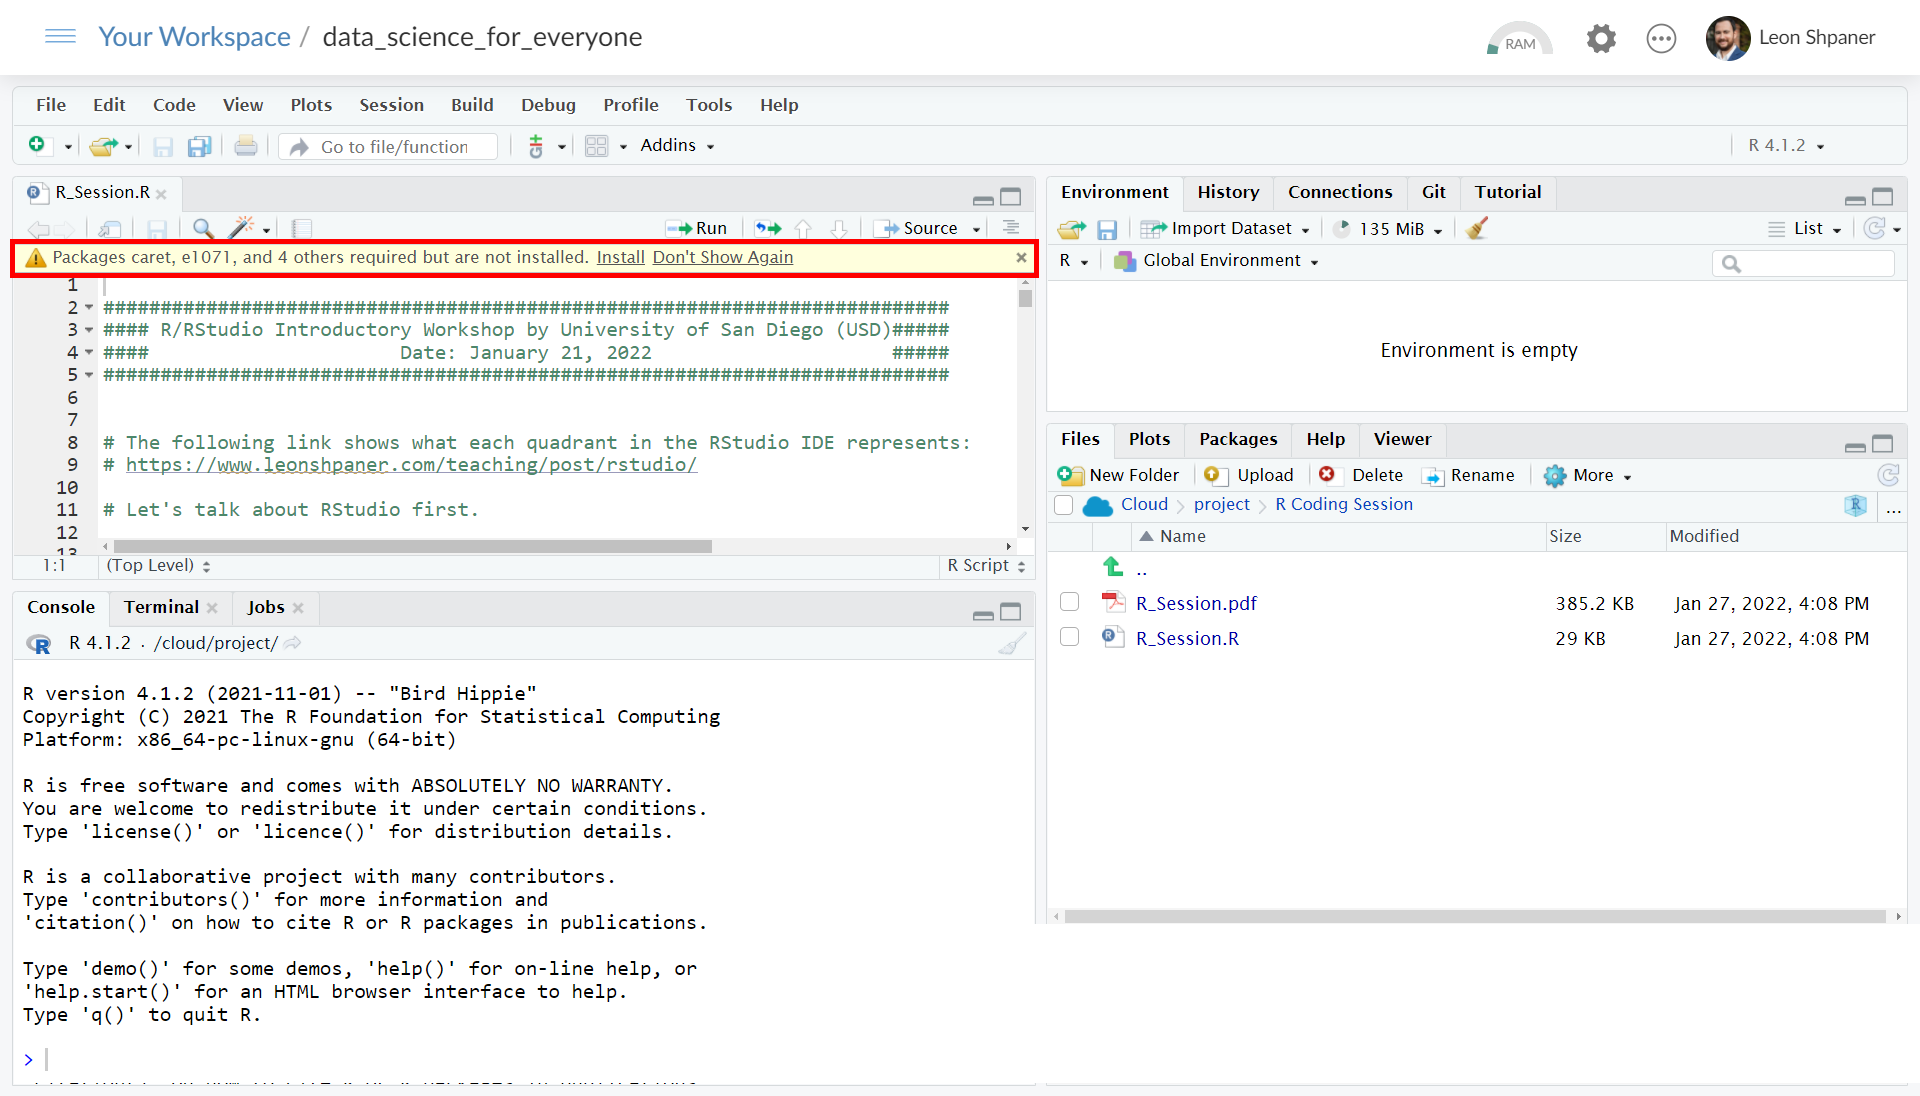
You can ignore the following message by clicking on Don't Show Again, since you will be installing the libraries manually using the selected lines of code.
If you choose to end your session by logging out of RStudio cloud, do not forget to save your work as you would normally do on any desktop software environment. This way, you will ensure to prevent any potential inadvertent loss of progress on the project.
If you have chosen to log out, you may access your project upon logging back into RStudio Cloud. You will then proceed to click on
projectson the now itemized workspace.
Python Introduction Via Google Colab
Whereas JupyterLab and Jupyter Notebook are the two most commonly used interactive computing platforms warehoused within the Anaconda distribution, data scientists can also leverage the cloud-based coding environment of Google Colab.
Instructions
A proper Python Jupyter notebook is saved with the .ipynb filename extension. To read in an example notebook into Google Colab, follow the following instructions.
Sign into your desired Google account.
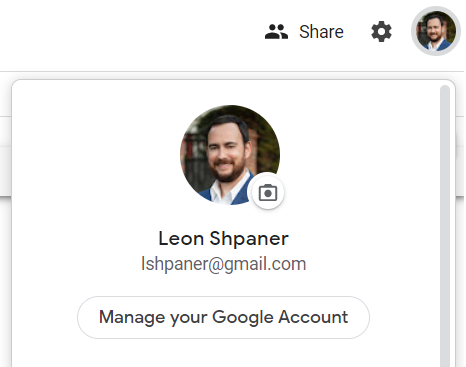
Navigate your browser (preferably Google Chrome) over to: https://colab.research.google.com/. Ensure that you are using the correct Google Account by checking with the preferences of your selected profile in the upper right-hand corner of the Chrome window. For example:
- A new window will pop-up landing on the
Recenttab denoted by the orange color by default. Navigate to and click on theGitHubtab. In the space provided belowEnter a GitHub URL or search by organization or user,enter the following link(s). Once populated, click on the search icon represented by the magnifying glass.
For The Python Introductory Session, use the following link:
For the Python Case Study Session, use this link:

Provided that this is a true and properly functioning link, this will immediately open up an instance of the notebook directly in Google Colab.
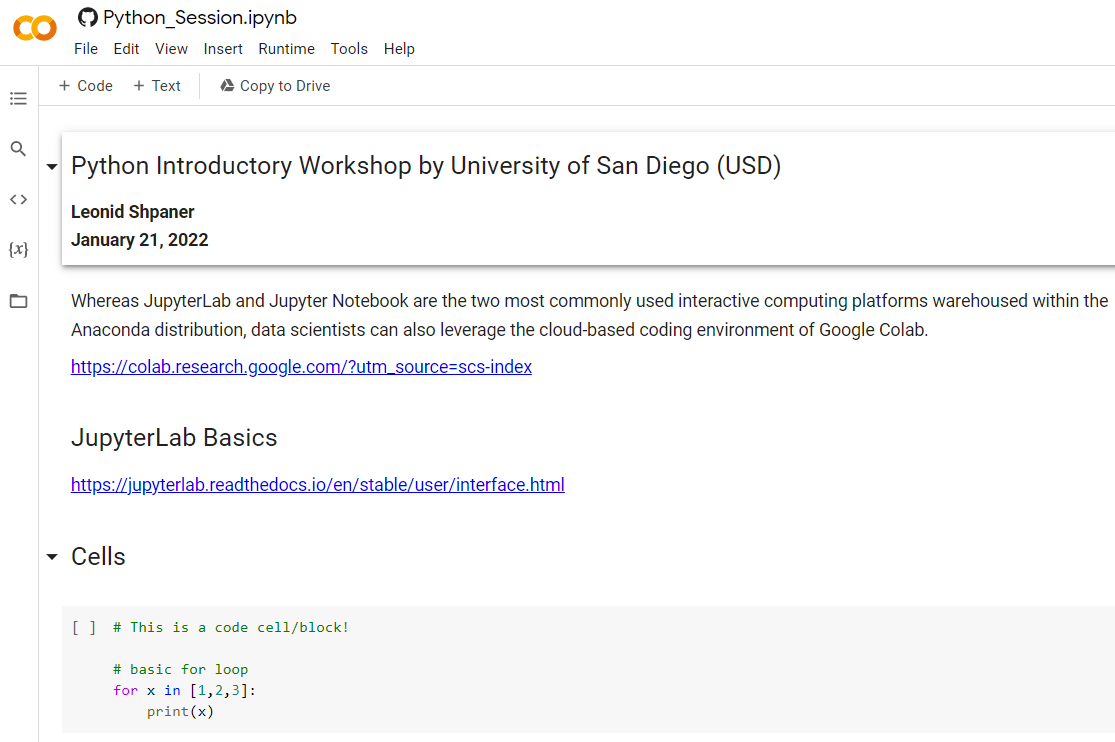
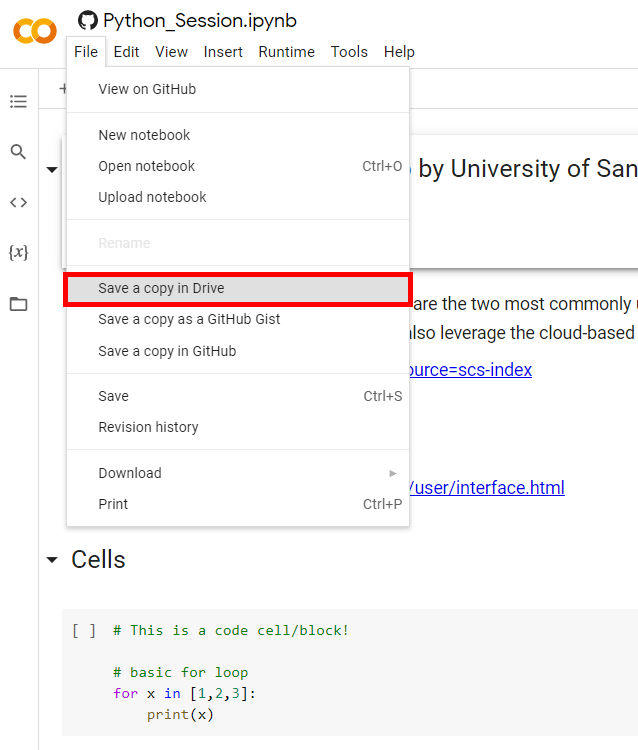
This cloud-based environment will have your standard
File, Edit, View, Insert, Runtime, Tools, and Helpmenu items. However, be advised of the following important protocols for saving your work. Since you are accessing a GitHub repository directly through Google, you CANNOT simply navigate toFileand thenSave.Conversely, you must click on
Fileand then click onSave a copy in Drive. This will immediately save a backup copy to your account’s Google Drive. Much like any other Google Document, your access privileges and naming convention changes will remain the same.